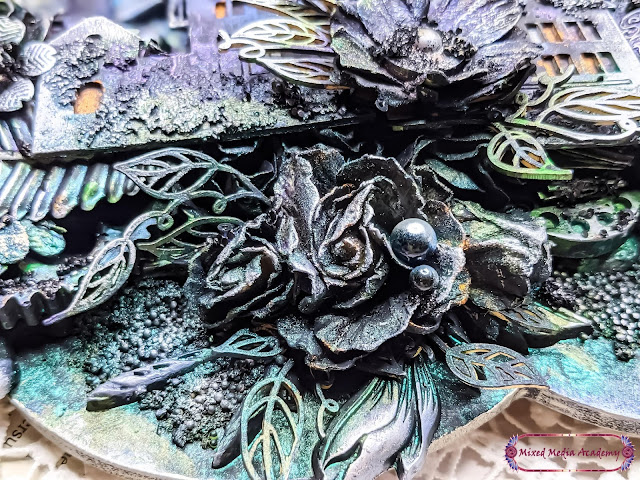
I hope I have inspired you all with my layout. Hope to see you all soon.
Thank you Madhurima for the gorgeous inspiration.
Do check out this month's challenge and participate to win awesome prizes from our sponsors. Take care and happy crafting!
I hope I have inspired you all with my layout. Hope to see you all soon.
Thank you Madhurima for the gorgeous inspiration.
Do check out this month's challenge and participate to win awesome prizes from our sponsors. Take care and happy crafting!
Hello MMA Fans...
Our Special Guest Designer Madhurima Dutta is on our blog today with a beautifully designed project for August Challenge Inspiration. She will be creating for us for next three months as our special guest designer. This month we have a Dark and grungy mood board with a lovely theme. Do check out our challenge announcement post by clicking on the right side top tab. You can find our full rules and prize details with link to enter the challenge.
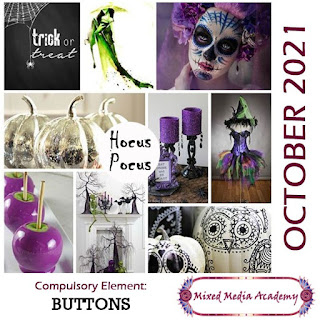
Here's our lovely Mood Board
Our Challenge is based on THEME & COMPULOSRY ELEMENT
COMPULSORY ELEMENT : BUTTONS
Hello hello Mixed media fans...
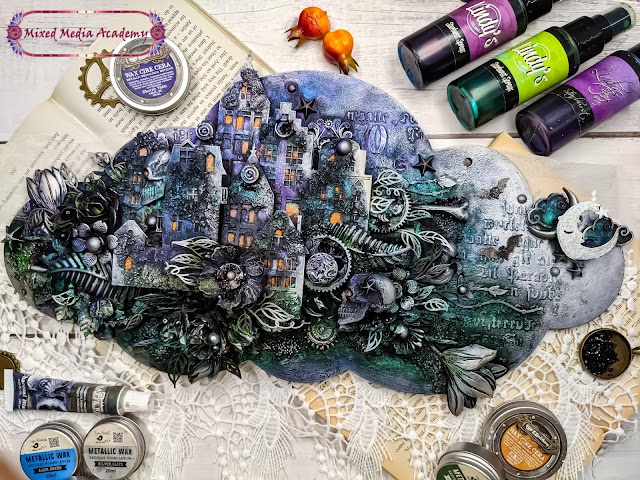
this is Madhurima here and I am so excited to share with you all my first guest designer project with you all.This month's moodboard is so interesting and have shades of green and purple intertwined with the theme of Halloween (of course since it's October 👻👻👻).
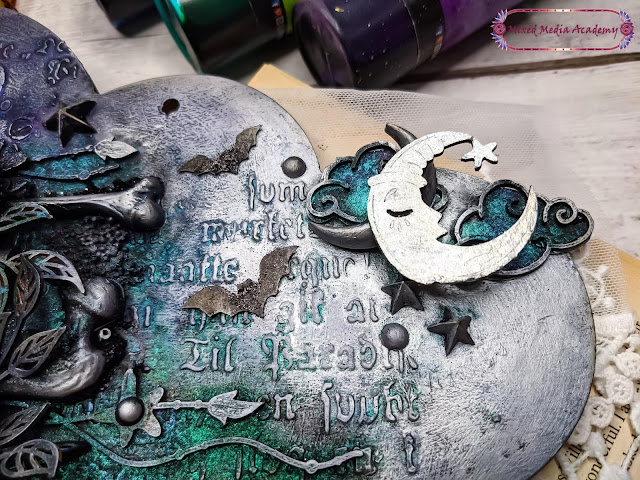
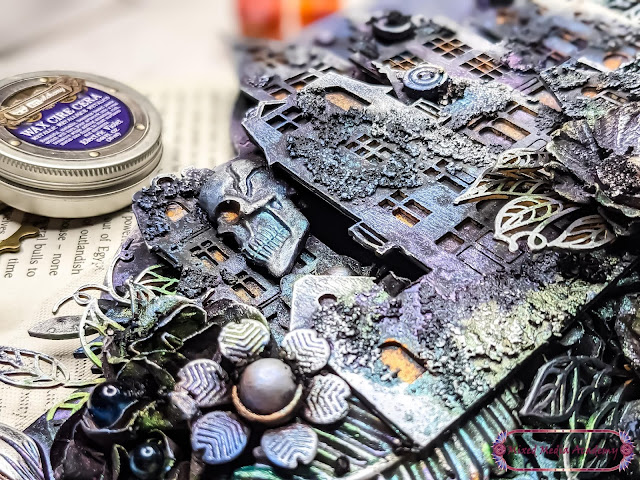
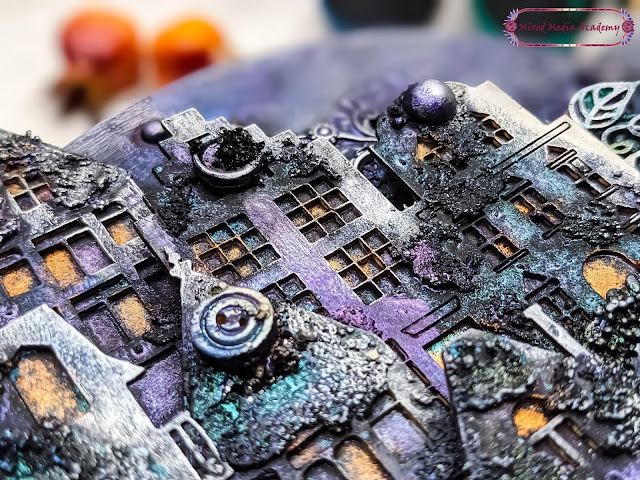
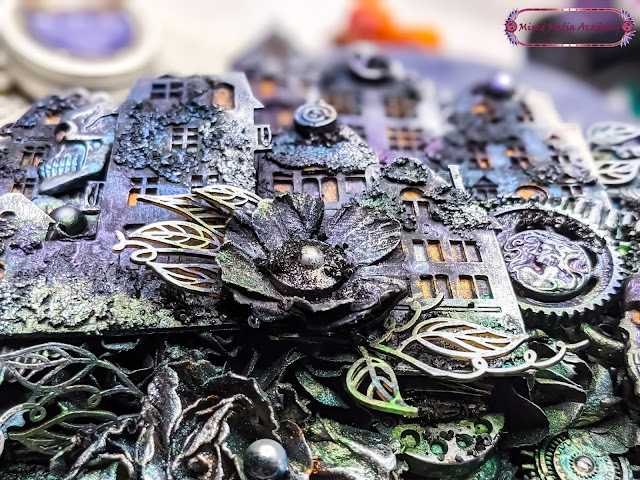
Here I have used a cloud shaped MDF base and added some gothic script stencil to the base with texture paste. Then I coloured everything including my embellishments with black gesso and build up my composition with the houses somewhere in the middle and a small poisonous garden below the houses.
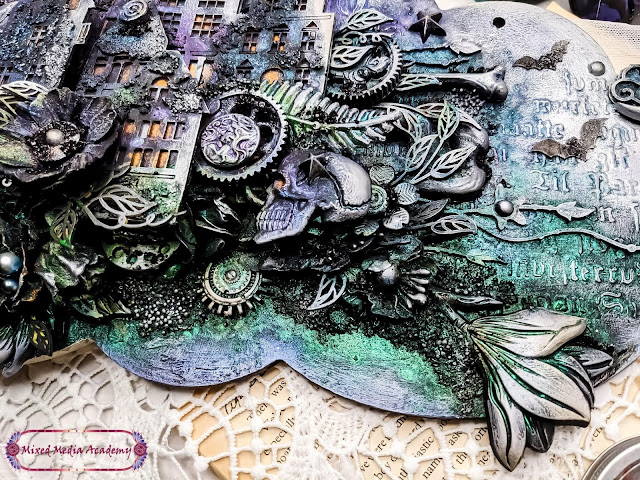
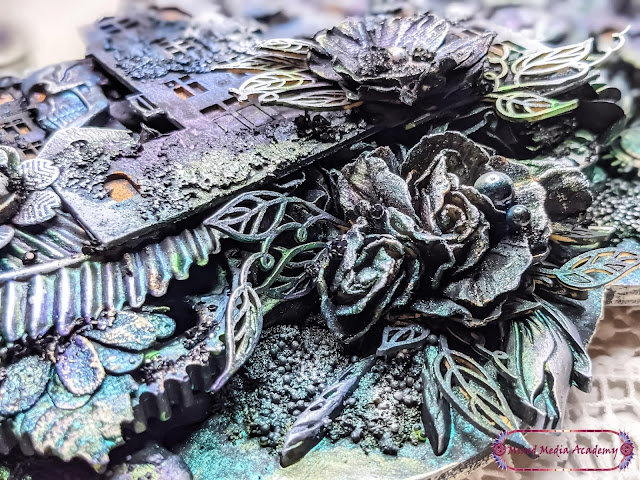
This gives more layers and dimension to the project. After I was happy with the composition, I coloured the project with metallic sprays that had green and purple mica in them. The green was for the lower part of the project depicting the garden and rhe purple, violet and teal were for the buildings and the sky. I have also added the buttons (which is the compulsory element for this month) as tiny details to the houses and the flowers. Ihave used waxes and metallic paint to add light around the moon and also on a single side of the entire composition to make the illusion of moonlight falling on the village.
Here are some close up of the project.
I hope you guys have enjoyed seeing my creation and have got inspired to make something related to the moodboard on your own. Hope to see you all soon, until then goodbye and happy Halloween 🎃🎃🎃.
Please remember to read the RULES before entering the challenge
- Create a NEW project
- Use the COMPLULSORY ELEMNET and take inspiration from the Mood board theme
- We DO NOT accept Cards, Tags, Postcards, ATCs.
- Mention our challenge in your post, share our Mood board and a link to our challenge on your blog.
- If you do not have a blog, participate through Social Media and share our Mood board along with your project picture Tagging us (FB Or IG)
- Link your projects in the In Linkz tool at the bottom of this post with your Name and Country Name as Title
- Follow our blog, Instagram and like our Facebook Page
Thank you for visiting.
Hello MMA Fans...
Our Special Guest Designer VTK Rani is on our blog today with a beautifully designed project for August Challenge Inspiration. This month we have a Dark and grungy mood board with a lovely theme. Do check out our challenge announcement post by clicking on the right side top tab. You can find our full rules and prize details with link to enter the challenge.
Here's our lovely moodboard
Our Challenge is based on THEME & COMPULOSRY ELEMENT
COMPULSORY ELEMENT : KEY
Hello MMA Fans...
Today we have our December challenge winner Maria Tarabukina as Guest Designer. She created a gorgeous project for our February challenge inspiration.
Over to Maria
Hello MMA Fans...
We welcome today a very talented artist/crafter and Store owner Priyanka Singh to our blog and she created a gorgeous project for our February challenge inspiration. She also created a video tutorial for the same. Check out the full post and let us know how you are inspired by her and participate in our challenge. You can participate in the challenge by clicking on the top right side bar. Please read all rules before entering the challenge.
Over to Priyanka
BLOG FACEBOOK INSTAGRAM YOUTUBE
Here's a quick list of supplies
Heart MDF panel
Finnabair Stencil
Finnabair Texture Paste
Spray Colors and magical Shaker - Lindy's
Finnabair Moulds Flower and Leaves
Chipboard frame and cuts from expressions craft
Embossing Power's- Ranger
Versamark and Archival Black Ink
Mixed Media Stamps
Die cuts- Fantasy Dies
Flower elements- from my studio
Flower Pearls- Dress my Crafts
Impasto Paints- Finnabair
Hot Glue Gun
3D Gel- Finnabair
You can watch out the complete tutorial / steps of making on my channel here.
Hope this inspired you to participate in the challenge soon. Thank you so much MMA Team for having me on board as a guest designer, super happy to be working with you and hopefully many more to come !!
Much love and hugs
Thank you Priyanka for the wonderful project and tutorial.
Thanks for visiting. Do participate in our challenge this month. You can find our challenge on the blog Top side bar.
Now over to Madhurima
Hello!!! Hello!!! My lovely crafters… this is Madhurima Dutta here from India and I am thrilled to be able to inspire you all with my guest DT project for this month at mixed media academy. This month’s moodboard is really gorgeous with all the different tones of purple and lilacs. Since these colors are known to have a very romantic and royal feel to it so I decided to create a crescent moon shaped layout. This layout really depicts my mood right now which is to be in touch with the lovely weather outside as well as to be in love with myself. To add a romantic touch to the layout I have added some fabrics and feathers and altered it to create a dream-catcher which in a sense shows how I love to dream about all the positive things in my life. Hope I am able to inspire you all with my project for this month.
# Step 1:
First of
all I cut out a crescent moon shape from a piece of cardboard and stick a
watercolor paper over it with the help of matte medium.
To it, for added textures I added natural sand ground texture paste and deco art stones ( both from expressions craft).Next up, I applied a coat of crackle paste here and there and then covered everything with black gesso.
Finally I added some metallic sprays- Amethyst (from expressions craft) and Witch’s potion purple and sassy sapphire (from Lindys stamp gang) to bring in the colors of the moodboard on the background base.
# Step 2:
Once done with base I will prepare some embellishments. For that I have used some chipboard cutout (from craftyattire by tuhina) and applied a coat of crackle paste and then used different shades of purples and teals to color them. To add some highlights I have added silver glitz wax from little birdie and electric violet wax crea from finnabair over the purple embellishments and antique gold and aqua sheen waxes from little birdie over the teal embellishments.
# Step 3:
This
step is all about layering different embellishments. To start off, I adhered
the bigger elements over the base. For more added texture I went in with a
piece of cotton fabric dyed with witch’s potion purple. Also, to break the
monotone of the colors I added a piece of white net fabric. Next up, I glued a
piece of cardboard so that it becomes easier to create the next layers. On the
cardboard piece I created subtle texture with tim holtz stencil and texture
paste, covered it up with black gesso and went in and colored it with the
previously used waxes.
Over the cardboard I added my focal point and around the focal point I added some die cut foliages and also some handmade flowers from expressions craft.
To further accentuate the focal image I added a chipboard frame; embossed it with Immix embossing powder in the shade true blue and hot pink. Next I painted some glass cabochons with electric violet and aqua sheen wax to go well with the existing colors of the moodboard.
Finally to finish off I used different type of laces and fabrics to hang some artificial white feathers, some die cut leaves and a central chipboard element in the shape of feather (from little birdie). I went in and colored the chipboard piece with sassy sapphire starburst spray along the inner areas and with amethyst metallic spray and electric violet wax on the outer corners and on the edges. To top it all I added some glitters (why not!!! Everybody loves glitters) and also some cute little butterflies because nature is incomplete without butterflies!!!
So I am finally done with my project. It was so fun to create according to this amazing moodboard. Thank you all once again to stop by to see my guest DT project. Hope that you guys enjoyed the brief process description as much as I enjoyed creating it. Have fun and happy crafting. Here are a few close up of the project for your kind reference.